PUTT TO THE GUT
HIGH SCHOOL :
S1.H1.L1
S2.H2.L1
S4.H5.L1
MIDDLE SCHOOL :
S1.M18.6
S1.M18.8
S2.M13.7
S5.M2.6
In this lesson, the student will learn to:
- Putt with control at a given target
- Demonstrate proper catching form
- Demonstrate control for safety of self and others during the activity
- Recognize physical activity as a positive opportunity for social and group interaction
MATERIALS
- One disc ( EDGE Disc or putter) per student to start if going over grips and putting motion
- Minimum of one disc per pair of studentS
SET-UP
- Students pair up and share one disc between them
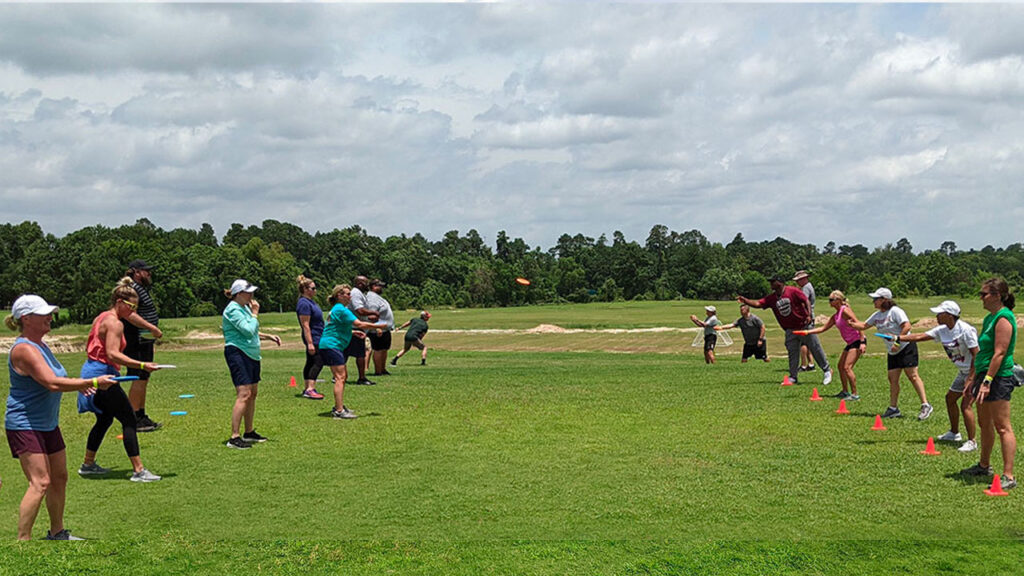
- Paired students face each other about 15-20 feet apart to start
- At least arms length between students on each side of the line
OBJECTIVE
Putt to the Gut is a fantastic way to introduce the putt. This lesson provides a lot of repetition with immediate feedback. Emphasize using a proper putting stance and concentrating on technique each time. The Instructor will have good line of sight to easily observe and guide learning. This lesson can be used to warm-up for a game or other class activity.
HOW TO PLAY
- Introduction: (5 minutes)
- “Show and Tell” control grip and putting technique (see Control Grip and Putting Stance / Styles)
- Have students start with in-line stance, concentrating on weight transfer, and releasing disc flat
- Stand next to a basket to show how the gut area is equivalent to the chain assembly on a target
- Emphasize safety awareness and usage of a two-handed gator catch when receiving the disc
Lesson: (15 minutes)
Students pair up and share a disc between them. Those pairs split off to form two lines about 15-20 feet apart and face each other. Students take turns putting to the gut or diaphragm area of their partner. The chest to waist area represents the chained area on a disc golf target that presents the highest probability of successful putts. Students gain immediate feedback with each putt and are able to help each other on alignment and technique. It is important to keep students on task and taking the time to set up each putt. The lesson cycle can be repeated to introduce various stances and putting styles. You may increase/decrease the partner distance according to skill.
Culminating Activity: (10 minutes)
Turn the activity into a scoring game after students have practiced a certain stance or style. The student putting gets into a proper putting alignment for each turn. Their partner stands tall and acts as a catching target. A putt that is caught in the midsection (belly button) to chest area is 2 points. If a putt is caught at the chest line or at the waist or just beyond the sides it is 1 point. No points for putts above the chest, below the waist or extended out past the immediate sides. Play games to seven points. The distance apart is based on skill level and may be adjusted. This activity is not intended to have students throw hard or fast shots. Control and proper putting technique are keys to enjoying this activity. Other styles or stances may be introduced and practiced to culminate in a scoring game reprisal.
- Release the disc flat
- Extend through your intended line
- Putt through it, not to it
- Shake hands with the chains
- Use your legs for momentum
- Wrist and Finger pop at end
- Two-handed gator catch for safety
No variations
No Other Resources

